wax logo

Hive Products - Polish


I have been asked to make some beeswax polish, and so I have started experimenting with various recipes.
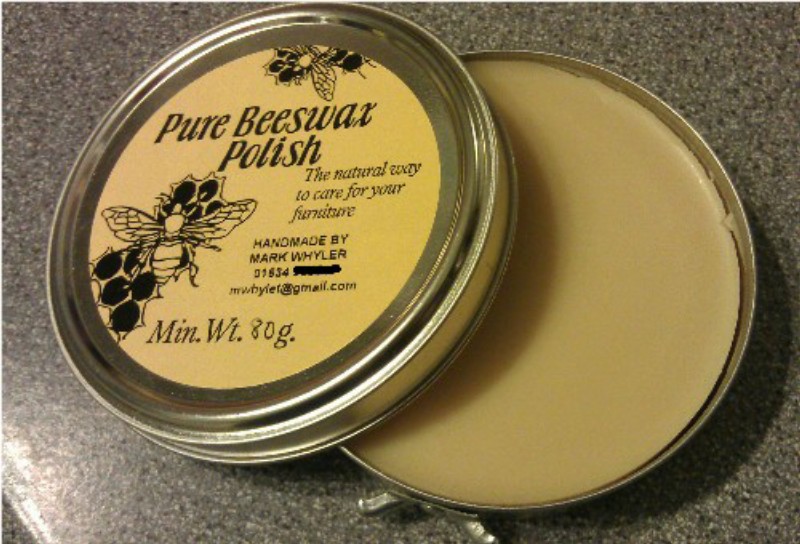
The ingredients are, Beeswax, Carnauba Wax and Turpentine.

The challenge is what ratio to mix them all together.

Have a look in the photo for the first tin of handmade polish.


beeswax polish tin

carnauba wax The internet provides a huge number of 'beeswax polish' recipes, and although the ingredients are relatively standard, the ratios are certainly not. The two main version of beeswax polish contain beeswax and pure turpentine, the difference is the addition of carnauba wax. This wax (shown on the left) adds, hardness and a 'shine' to the polish. Without it, the beeswax would have a slight sticky feel and a duller finish.

The first version that I made, was slightly harder than normal shoe polish. Although when I tested the polish it work very well on my pine coffee table, I wanted something softer and easier to apply. So back to the internet for another recipe.
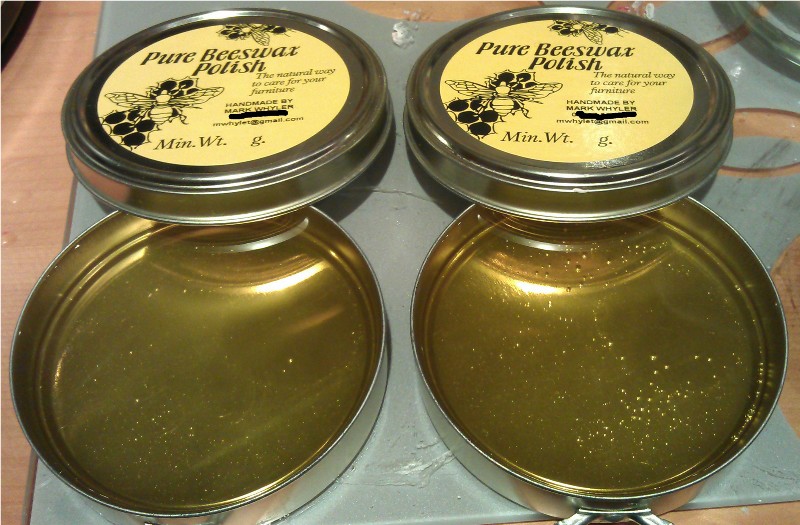

On my third attempt of choosing and varying the ratios,  I produced a softer polish that I will now produce to sell.
In this photo there are two tins of hot polish freshly made, ready to cool and set.

For a small batch of 2 tins, it takes around 30 minutes to melt and mix the ingredients, and then another 30-45 minutes for the polish to set. Once set, the lid can be firmly attached. If this is attempted prior to cooling, usually the molten wax ends up going everywhere...not that I have experienced that!


two tins of hot beeswax polish freshly made

You can always buy the polish from me if you don't want to make it yourself. Details of how to buy the polish from are provided on this page.


People have asked how I have made the polish, so I have included details on how I make the polish below.

The ratio that I use is as follows,
            113 g of beeswax
            14 g carnauba wax 
            284 ml of turpentine

This results in a total of 500 ml and so enough for 5 off 100 ml tins, each tin if filled to the rim is just over 80 g in weight. You can of course reduce the amounts proportionally to make less.

The waxes are weighed out into a glass 500 ml jug. I use a piece of aluminum foil over the top of the jug to keep out the water. The jug containing the waxes and foil are placed in an old food steamer and melted together.
Once melted, the turpentine is added carefully, and the complete mix placed back into the steamer for another 10 minutes or so. This ensures that the waxes are fully dissolved into the turpentine and gives a nice smooth polish. If you don't heat together, on addition of the cold turpentine the mix will quickly cool and wont allow the waxes to dissolve into the turpentine. I then leave the mix to cool down for a few minutes before pouring into the tins. Place the tin lids loosely on top and allow to cool. Typically if using the twist lock lids the tins may leak a little around the closure, I stand the tins on a glass or silicone mat to prevent damage to the table.
The complete process is carried out in the conservatory away from the kitchen !
I use a digital kitchen scales reading to 1 g to weigh out the ingredients. A cheap 500 g scales reading to 0.01 g is also very useful if scaling down the quantities.

Please note, care should be taken throughout as all the ingredients are flammable, and when using turpentine, good ventilation is also required.